Picture this: you walk into your basement and spot a nasty crack zigzagging along your foundation wall. Maybe your first thought is panic, or maybe you’re already searching for the quickest fix. Foundation cracks aren’t only an eyesore—they’re an open invitation for water, insects, and even big expenses if you ignore them. Here’s the kicker: not all cracks need a one-size-fits-all solution, and picking the best method is a game changer. So, what really is the best way to repair a foundation crack?
Understanding Foundation Cracks: Causes and Consequences
Foundation cracks show up for all kinds of reasons, and not all of them spell doom for your house. Sometimes they pop up because concrete settles as it dries (that’s called shrinkage cracking). Other times, they’re telling you there’s way too much water pressing against your wall, or that your soil just can’t support your home like it used to. As you might guess, the seriousness of the crack often lies in the details: its width, length, direction, and what caused it in the first place.
Check out this quick cheat sheet to help you spot the difference between types of cracks:
| Type of Crack | Common Cause | Severity | Repair Urgency |
|---|---|---|---|
| Vertical or Diagonal | Settling, shrinkage | Usually minor | Medium to low |
| Horizontal | Hydrostatic pressure | Structural risk | High |
| Stair-Step (in blocks) | Uneven settling | Can be bad | Medium to high |
Stressing out over every crack isn’t required. In fact, hairline cracks (those less than 1/16 inch wide) aren’t usually a disaster. Still, they can let water in, especially if your house sees heavy rain or snowmelt. Any crack wider than 1/8 inch—and especially those running horizontally—are worth fixing right away, because they can be a sign the foundation itself is struggling.
Why do these cracks matter so much? Water loves finding its way inside, and once it starts, mold, mildew, and rot often follow. Besides the musty smell, these problems can chew away at your home’s value, cause health issues, and invite pests that would rather not pay rent. Even tiny cracks will usually grow with time—and with every freeze-thaw cycle, each little line can become a new leak risk.
Home inspectors see foundation cracks more than you’d think. In a 2023 survey of U.S. homebuyers, nearly 38% reported cracks during their home inspection, with basement water intrusion topping the list of follow-up repairs. If you live somewhere with heavy clay soils or dramatic weather shifts, your risk for cracks is way higher. Stopping them early saves loads of cash; leave them alone and you could be staring down a five-figure foundation repair bill later on.
If the crack runs the full height or all the way through your wall, or if your foundation starts bowing inward, don’t just slap patch on it. Time to call a pro to check for major structural issues. But for most small and moderate cracks, you’ve got options—some you can even do yourself if you’re a little handy and ready to learn.

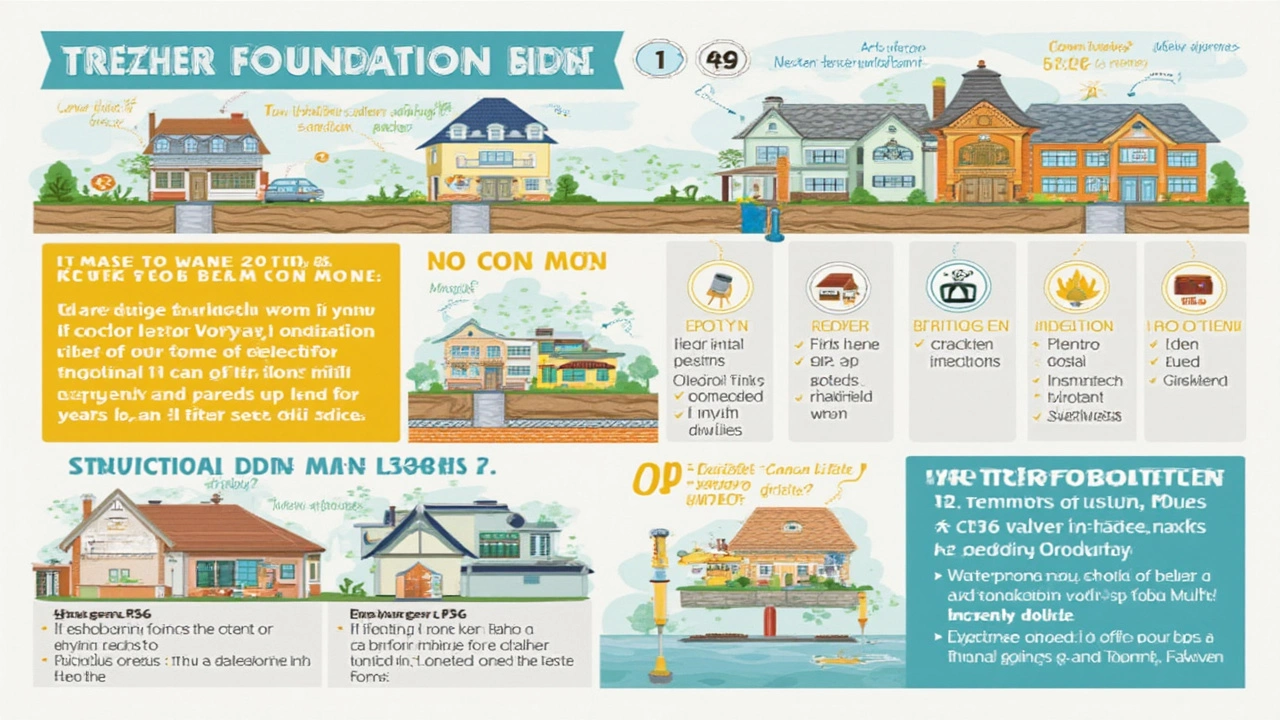
Popular Foundation Crack Repair Methods: Pros, Cons, and How They Work
Let’s get into the meat of the issue: how do the pros fix those pesky cracks? There are several go-to methods anyone checking out foundation crack repair will bump into—each with its own strengths and quirks. Here’s what you need to know before you pick up a tube of sealant or call in the big guns.
- Epoxy Injection: Epoxy is like the superhero glue of the concrete world. The process involves cleaning out the crack, inserting plastic injection ports along the crack line, then forcing epoxy resin deep inside under pressure. Once hardened, it forms a bond that’s actually stronger than the concrete around it. Epoxy is best for structural cracks, since its job is to restore strength.
- Polyurethane Foam Injection: This method is a favorite for stopping water. Polyurethane is more flexible than epoxy, so it can move a bit with your foundation as seasons change. The foam expands inside the crack, filling all the tiny gaps and blocking water. It’s great for hairline or leaking cracks, but not the best for structural repairs because it doesn’t add a lot of strength.
- Hydraulic Cement: Ever tried patching a leak with play-dough that sets in minutes? That’s kind of what hydraulic cement is like. It expands as it dries, sealing cracks in the process. It’s easy for DIY projects and cheap, but it usually works best as a temporary fix. Over time, the patch can pop off as the foundation moves again.
- Carbon Fiber Staples or Straps: If you spot horizontal or stair-step cracks starting to widen, adding carbon fiber straps to the wall can help keep it from bowing or flexing. These are bonded to the surface with epoxies and are almost invisible once installed. While they add some muscle to the wall, they don’t patch the crack itself—you’ll need to use epoxy or polyurethane in addition.
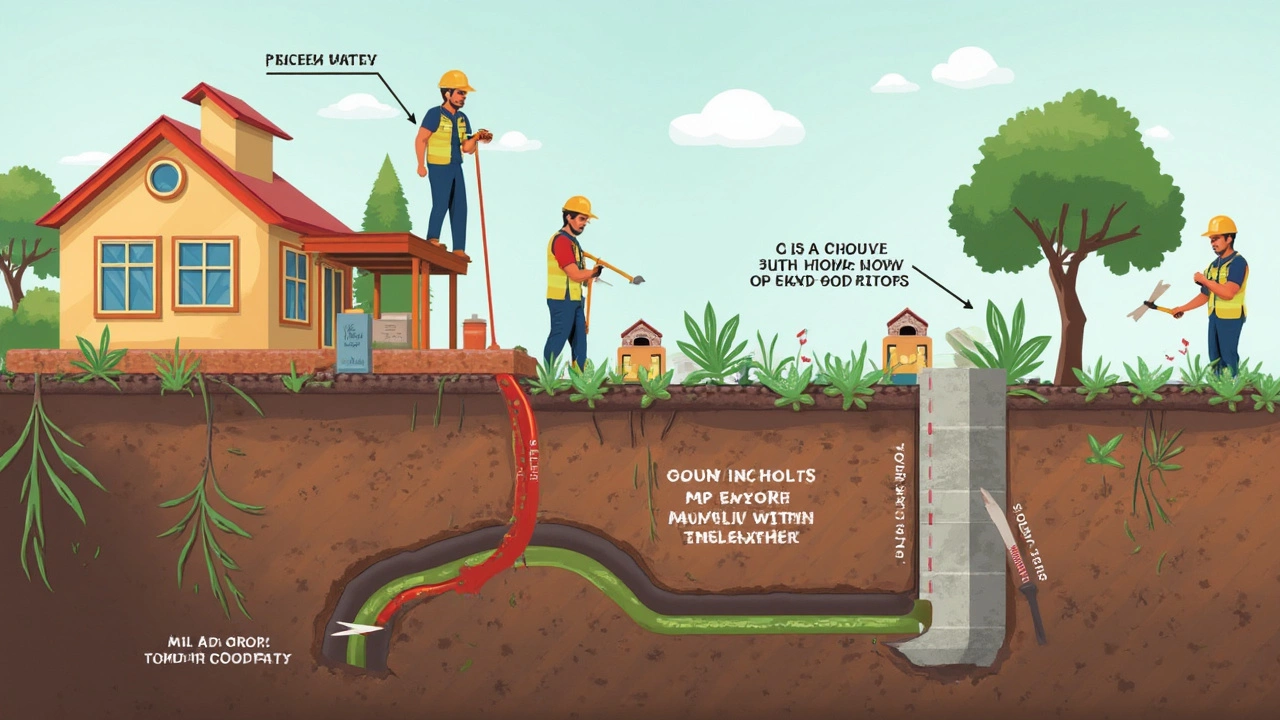
- Exterior Waterproofing: Sometimes the real fix is outside. If water keeps finding its way through, digging around the foundation to apply waterproof membranes, drainage boards, or French drains can make a huge difference. This option is pricey, messy, and not usually needed for a single crack, but it’s unbeatable for persistent leaks or major hydrostatic pressure on older homes.
So, which repair reigns supreme? For most indoor, non-structural cracks, polyurethane injection wins for water-blocking, flexible repairs. For serious, structural cracks—especially anything wider than a quarter-inch or clearly shifting—epoxy injection is the go-to you want. Just remember: if your foundation wall itself looks like it’s moving or collapsing, don’t mess around—call a foundation contractor to inspect for bigger problems before you spend a dime.
Curious about the costs? Here’s a peek at average project prices in North America for each method (2024 figures):
| Repair Method | DIY Cost | Pro Install Cost | Expected Lifespan |
|---|---|---|---|
| Epoxy Injection | $80 - $200 | $450 - $1,200 | 20+ years |
| Polyurethane Foam | $55 - $125 | $400 - $900 | 10 - 20 years |
| Hydraulic Cement | $25 - $65 | $150 - $350 | 3 - 5 years |
| Carbon Fiber Straps | n/a | $650 - $1,500 per strap | 25+ years |
| Exterior Waterproofing | n/a | $3,000 - $12,000 | 30+ years |
One tip to remember: Always clean out the crack before repair. Use a wire brush, water, or even a vacuum. It helps the repair material actually bond to the concrete—otherwise, those fancy sealants eventually peel away, letting water right back in.
For those willing to try a small crack repair themselves, here’s a step-by-step using polyurethane foam:
- Clean the crack thoroughly with a wire brush and vacuum up dust.
- If using a kit, attach injection ports and seal the surface of the crack with epoxy paste (not the actual filler yet!)
- Once that hardens, inject the foam slowly from the bottom port upward until it oozes out of the top port.
- Cap the ports. Wait the recommended cure time (usually an hour or two). Remove the ports and smooth over the patched area.
Wear gloves. And don’t over-inject, or you’ll have foam blobs to cut away later. If you see moisture after the repair, check your exterior drainage. Sometimes cracks are only half the story.

Long-term Tips and Prevention: Keeping Foundation Cracks Away
Here’s what every real estate agent will tell you: preventing foundation cracks is cheaper than any fix. Luckily, most prevention comes down to managing water. This sounds almost too simple, but keeping gutters clean and sloping dirt away from your home goes a huge way toward stopping cracks.
Let your lawn slope downhill, not toward your walls. A perfect grade drops 6 inches for every 10 feet away from your house. Clean gutters matter more than you think—one clogged downspout can dump hundreds of gallons next to your foundation after a storm. Install downspout extensions if you’re seeing puddles by your walls.
Trees are a sneaky culprit when planted too close to your foundation. Big roots chase moisture and push against your foundation, causing cracks and even shifting the house. The rule of thumb: keep large trees at least 20 feet away, and smaller decorative shrubs no closer than five feet.
Pay attention to what’s under your house, too. If your yard has clay-heavy soil, it expands and shrinks a lot with rain or drought, making cracks more likely. In zones where the ground freezes hard, you’ll want to rake mulch and leaves away from the house each fall so water doesn’t collect and freeze against the concrete.
Occasionally, foundation cracks show your house is settling in ways it shouldn’t. This sometimes points to broken plumbing, major drainage problems, or even mistakes during the foundation pour. If you keep seeing new cracks appear or doors sticking badly, don’t just keep caulking over them—call in a pro for an inspection with a laser level or foundation survey. Foundation repair specialists and structural engineers have gadgets and knowhow that can pinpoint problems before they hit crisis mode.
Worried about home value? Appraisers often glance at repaired cracks during home sales and look for water stains or fresh patches. Repairs done by pros with a warranty stand out, and they’re often required for FHA or VA loans. If you’re the DIY type, snap photos at each step—having a record can help if you sell your house later on.
If you’re living in a historic home, doing repairs with modern materials can be tricky. Old brick and stone foundations don’t always play nice with today’s epoxies or foams. Lime-based mortars or specialized masonry products might be a better fit, so be sure to match your repair to your era of house.
At the end of the day, fixing foundation cracks is totally doable with the right tools, patience, and a little knowledge under your belt. The peace of mind that comes with a dry, stable basement? That’s hard to beat.


