Bathroom Renovation: The Best Step‑by‑Step Order Guide
Bathroom Renovation Timeline Calculator
Renovation Planner
Your Estimated Timeline
Please calculate your timeline to see results
Ever started a bathroom makeover and felt like you were pulling the rug out from under yourself? The secret isn’t just having a great design - it’s doing the work in the right sequence. Skipping ahead to install a vanity before the plumbing is hidden can turn a smooth project into a costly nightmare. Below is a practical, step‑by‑step bathroom renovation order that keeps the chaos to a minimum and your budget on track.
1. Clarify the Scope of Your Bathroom Renovation
Before you even pick a tile, ask yourself what you really want to change. Are you simply updating fixtures, or are you re‑configuring the layout? A clear answer shapes every later decision.
Bathroom Renovation is the process of improving, updating, or completely rebuilding a bathroom’s physical components, including plumbing, finishes, and fixtures can range from a cosmetic refresh to a full gut‑rehab. Knowing the scale helps you budget, secure permits, and set realistic timelines.
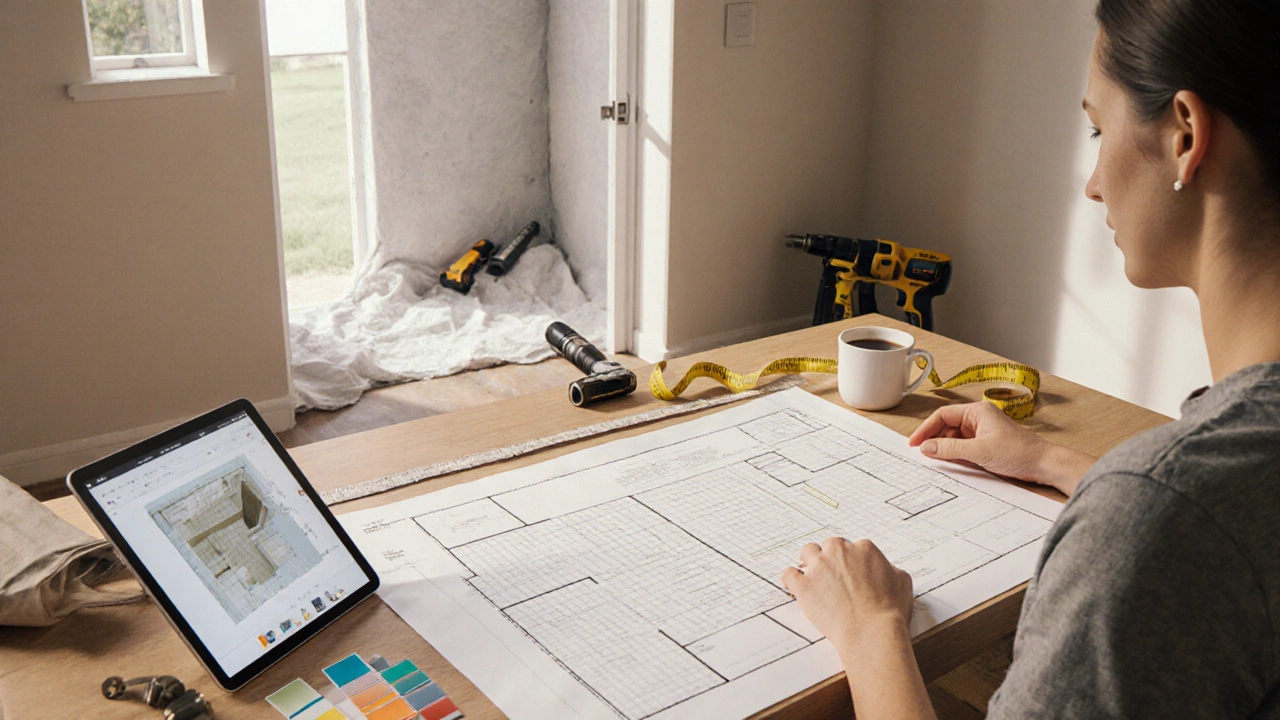
2. Planning, Budgeting, and Permits
Draw a simple floor plan on graph paper or a free app. Mark where the existing plumbing stacks are - moving them is the most expensive part. Once you have a plan, calculate a rough budget with a 10‑15% contingency for surprises.
Permit is official permission from local authorities required for structural, plumbing, or electrical changes in a bathroom. In Manchester, most alterations to water supply or drainage need approval from the local council. Apply early; the paperwork can take a week or more, and you’ll avoid fines later.
3. Protect and Prepare the Work Area
Clear the bathroom of all movable items - towels, rugs, toiletries. Cover adjoining rooms with drop cloths to keep dust from migrating. A good prep step saves hours of cleanup later.
Demolition is the controlled removal of existing fixtures, tiles, and sometimes walls to make way for new construction should be done after protection is in place. Use a reciprocating saw for trim and a hammer drill for tiles. Dispose of debris responsibly; many UK councils offer green waste collection.
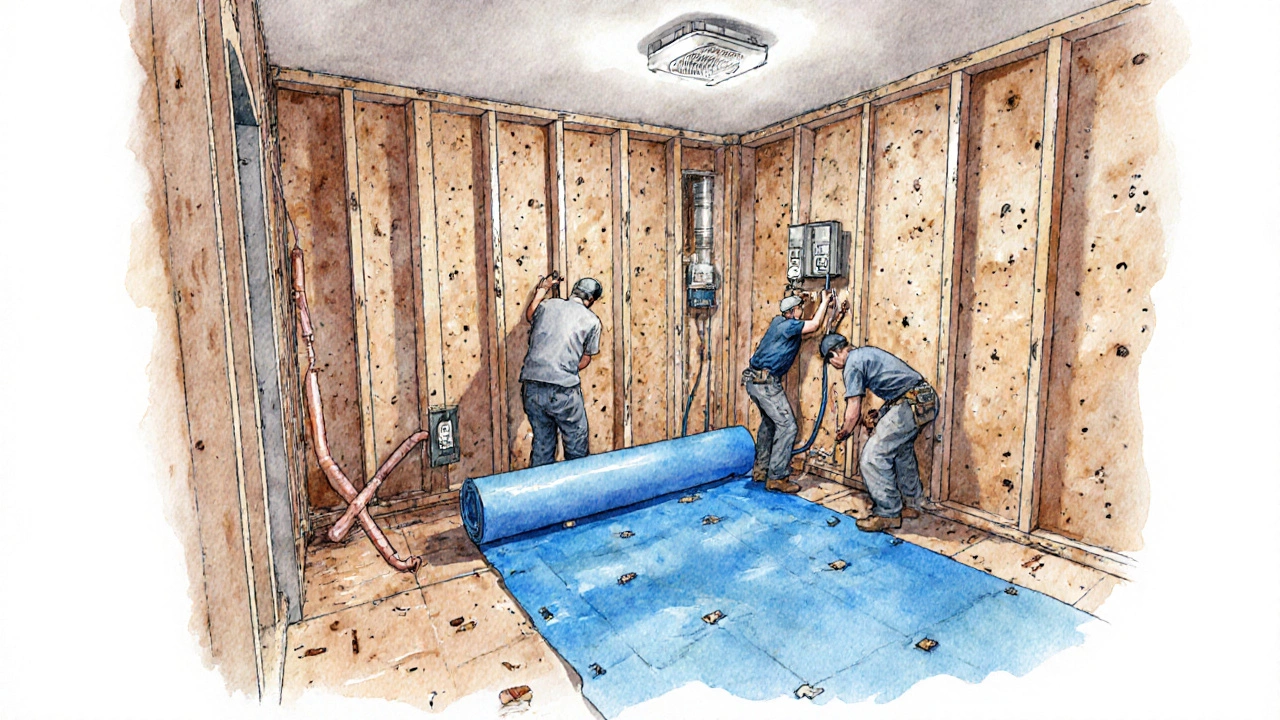
4. Rough‑In Stage: Plumbing, Electrical Wiring, and Ventilation
The rough‑in is the backbone of any successful bathroom remodel. Tackle everything that goes behind the walls before you close them up.
- Plumbing is the network of pipes that supply water and remove waste from bathroom fixtures. Install new supply lines, adjust pipe lengths for the new vanity or toilet, and test for leaks.
- Electrical Wiring is the set of insulated conductors that power lights, outlets, and heated features. Run new circuits for GFCI outlets, switches, and any heated towel rails. Have a qualified electrician certify the work.
- Ventilation is the system that removes moisture and odors, typically a exhaust fan or passive vent should be installed now, ensuring ductwork reaches the outside. Proper ventilation prevents mold later on.
Once everything is in place, apply a waterproof membrane. This step, known as Waterproofing is the application of a barrier that prevents water penetration into walls and floors, is crucial in wet areas like showers and tub surrounds.
5. Structural Work: Walls, Floors, and Tiles
With the plumbing and wiring secured, turn to the surfaces that will be seen daily.
- Install backer board over studs for a stable wall base. Screw it in place and tape the seams.
- Lay a cement‑backed floor screed if you’re switching to tile or stone. Allow proper curing time (usually 24‑48 hours).
- Tiles is ceramic, porcelain, or natural stone pieces used to cover walls and floors are set with thin‑set mortar. Start from the center point of the wall or floor to ensure symmetry. Use spacers for even grout lines.
After the adhesive cures, apply grout, seal it, and wipe away excess. This stage can take a few days, but it lays the foundation for a durable finish.
6. Install Major Fixtures: Vanity, Toilet, and Shower Enclosure
Now that the surfaces are ready, bring in the fixtures that give the bathroom its character.
- Vanity is a combined sink and storage cabinet that often includes a countertop. Level it carefully, connect the supply lines, and test the faucet.
- Toilet is a sanitation fixture that disposes of human waste using a water flush system. Set the wax ring, secure the base, and ensure a proper seal to avoid leaks.
- Shower Enclosure is a glass or acrylic box that contains water within the shower area. Follow the manufacturer’s instructions for frame assembly and sealant application.
Hook up any additional accessories - towel bars, grab rails, and soap dispensers - at this point.
7. Finishing Touches: Paint, Lighting, and Accessories
Paint that can handle moisture (e.g., a semi‑gloss bathroom‑specific paint) on the ceiling and any exposed walls. Choose a light‑reflective shade to make a small bathroom feel larger.
- Lighting is the fixtures and bulbs that provide illumination, often a mix of ambient, task, and accent lighting. Install a vanity light at eye level and consider recessed LEDs for a modern look.
- Finish with accessories - mirrored medicine cabinets, decorative towels, and a plush rug.
Take a final walk‑through to confirm that all hardware is tight, seals are even, and there are no drips.
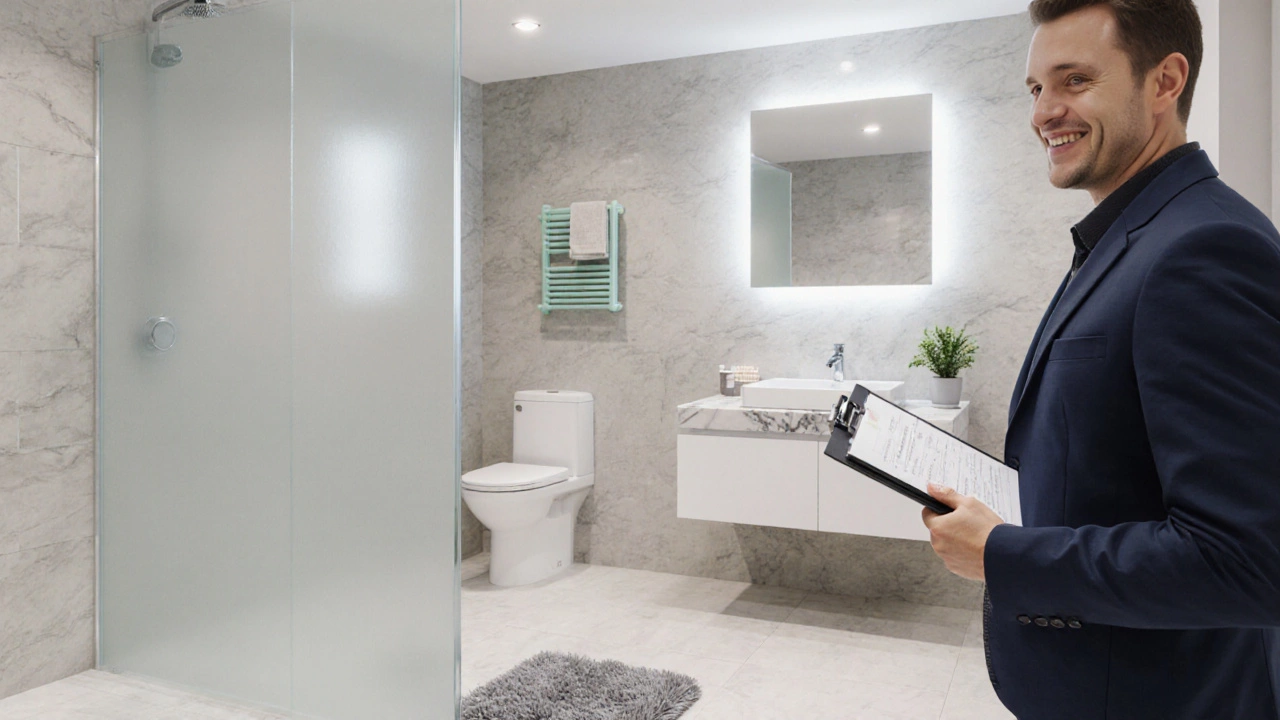
8. Final Inspection and Clean‑Up
If you required a council Permit, schedule the inspection now. The inspector will check that plumbing, electrical, and ventilation comply with UK building regulations.
After approval, give the space a deep clean: scrub grout, wipe all fixtures, and vacuum dust from vents. A spotless finish showcases your hard work and helps you spot any issues before they become problems.
Quick Reference Table
| Phase | Key Tasks | Typical Duration |
|---|---|---|
| Planning & Permits | Design, budgeting, council approval | 1‑2 weeks |
| Demolition & Prep | Removal of old fixtures, site protection | 2‑3 days |
| Rough‑In | Plumbing, electrical, ventilation, waterproofing | 4‑7 days |
| Structure & Tile | Backer board, floor screed, tiling, grouting | 1‑2 weeks |
| Fixture Install | Vanity, toilet, shower enclosure, accessories | 2‑4 days |
| Finishes | Paint, lighting, final hardware | 1‑2 days |
| Inspection & Clean‑Up | Final council check, deep clean | 1‑2 days |
Common Mistakes to Avoid
- Installing the vanity before confirming pipe locations - you may end up cutting into the cabinet.
- Skipping the waterproof membrane - water can seep into walls, causing mold.
- Rushing the grout cure time - premature use can crack the grout and ruin the look.
- Neglecting ventilation - a poorly vented bathroom stays damp and smells linger.
Checklist for a Smooth Renovation
- Define scope, draw floor plan.
- Set budget with contingency.
- Apply for any needed permits.
- Protect surrounding rooms, remove old items.
- Complete demolition safely.
- Run plumbing, electrical, and ventilation lines.
- Apply waterproof membrane.
- Install backer board, then tile floors and walls.
- Place vanity, toilet, and shower enclosure.
- Fit lighting, paint, and accessories.
- Schedule final inspection, then clean thoroughly.
Do I really need a permit for a bathroom remodel?
In the UK, any work that changes the water supply, drainage, or structural components generally requires council approval. Cosmetic updates like a new paint color usually don’t. Checking with your local authority early prevents costly re‑work.
Can I move the shower to the opposite wall?
You can, but moving a shower means rerouting both the hot and cold water lines and the waste pipe. This is one of the most expensive parts of a remodel, often adding 30‑40% to the plumbing budget.
How long should I wait before walking on new tile?
Thin‑set mortar typically needs 24‑48 hours to cure, but heavy foot traffic should be delayed until the grout also sets, about 72 hours. Use a light foot‑traffic test before moving furniture.
What’s the best lighting layout for a small bathroom?
Combine a bright, dimmable ceiling LED with a vanity light at eye level. Mirror‑integrated LEDs add extra task lighting without taking up space.
Should I install heated flooring?
Heated floors are a luxury that adds comfort and can increase property value. They’re easiest to install under tile during the rough‑in stage; retrofitting later is much harder.


Comments