Walls or Floor First in a Bathroom Remodel? Find the Right Order
Bathroom Remodel Order Calculator
Find the best sequence for your bathroom renovation
Answer these questions to determine whether to tile walls or floor first
Recommended Approach
Answer the questions above to see the recommended sequence for your bathroom remodel.
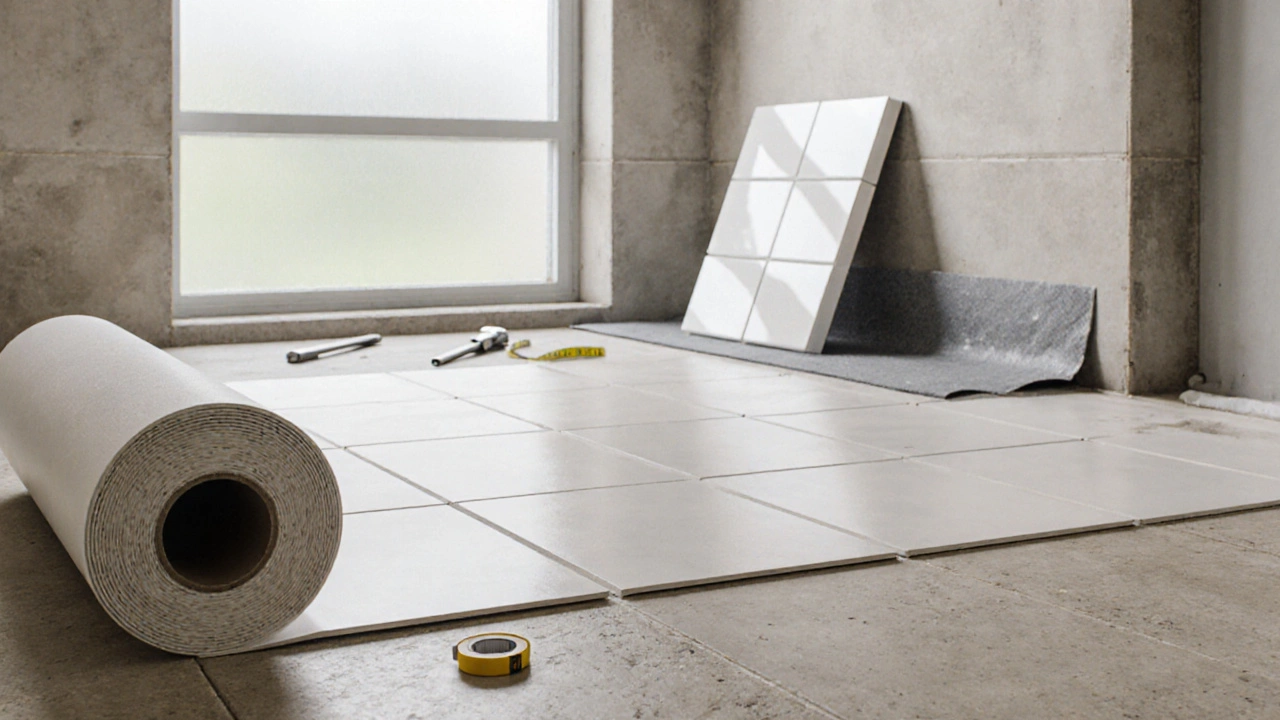
When planning a bathroom remodel is the process of updating a bathroom’s fixtures, finishes, and layout, one of the first questions is whether to tile the walls or the floor first. Getting the bathroom remodel order right can save you time, money, and avoid nasty re‑work.
Key Takeaways
- Both walls‑first and floor‑first approaches work; the best choice depends on plumbing layout, moisture control, and your project timeline.
- Walls first is ideal when you need a waterproof membrane that runs continuously from floor to wall.
- Floor first works well for level‑floor installations and when using large‑format floor tiles that set the room’s height.
- Use the decision checklist to match the method to your specific bathroom constraints.
- Avoid common pitfalls like trapping moisture or mismatched grout lines by following the step‑by‑step guides.
Why the Order Matters
The sequence you choose influences how water moves, how long each material has to cure, and how much protection you get against future leaks. In a tight space like a bathroom, a mis‑step can lead to cracked tiles, mould, or costly repairs.
Two technical factors dominate the decision:
- Moisture management: Water from the shower or bath needs a seamless barrier. If you tile the floor first and later apply wall tiles, you must ensure the wall waterproofing overlaps the floor membrane properly.
- Work flow efficiency: Some trades (plumbers, electricians) need to finish before any tiling begins, while others (tilers) prefer a clear floor to move around.
Option 1: Walls First
Doing the walls before the floor is the classic method taught in most trade schools. It lets you install a continuous waterproof membrane that runs up the walls and over the floor edge.
Wall tiles are ceramic or porcelain tiles applied to bathroom walls are set on a cement backer board, then a waterproof membrane is rolled over the seams, extending onto the floor.
Pros
- Creates a unified barrier against moisture; water can’t seep behind the floor.
- Wall joints are easier to seal because the floor isn’t in the way.
- Often faster for small remodels where the floor is already level.
Cons
- If the floor isn’t perfectly level, you may end up with uneven tile heights.
- Any later floor work must tread carefully around the already‑tiled walls.
Typical steps for the walls‑first approach:
- Prep walls: remove old tiles, install cement backer board - water‑resistant substrate for wall tiles, tape seams.
- Apply waterproof membrane - liquid‑applied or sheet barrier that prevents moisture penetration up the walls, extending at least 6 inches onto the floor.
- Tile the walls with wall tiles, using thin‑set adhesive.
- After walls cure, prep the floor: remove any remaining debris, level with screed - a cementitious leveling layer if needed.
- Lay floor tiles - tiles installed on the bathroom floor using thin‑set, then apply grout - the filler between tiles.
- Seal grout and reinstall fixtures.
Option 2: Floor First
Floor‑first is gaining popularity, especially when the floor is uneven or when you’re using large‑format floor tiles that set the visual height of the bathroom.
Starting with the floor lets you create a perfectly level surface before any wall work begins.
Pros
- Ensures a level tile surface, which is critical for large tiles.
- Floor can be tiled up to the exact height of the shower curb, providing a clean seam.
- Reduces the risk of stepping on wet wall mortar, keeping the workspace safer.
Cons
- Waterproofing must be carefully overlapped with wall membranes; otherwise water can infiltrate behind the wall tiles.
- Requires a good understanding of how to lock the wall membrane into the floor edge.
Typical steps for the floor‑first approach:
- Prep the subfloor: remove old flooring, repair any joist damage, and install a suitable underlayment - a layer that smooths and stabilises the subfloor.
- Lay a waterproof membrane on the floor, extending up the walls about 6 inches.
- Install floor tiles with thin‑set, ensuring a level surface; let it cure fully.
- Apply screed if you need to raise or lower the floor for transition to adjacent rooms.
- Seal floor grout fully before moving to wall work.
- Install cement backer board over the walls, tape seams.
- Apply a second coat of waterproof membrane over the backer board, overlapping the floor membrane to create a watertight seam.
- Tile the walls with wall tiles, then grout and seal.
- Re‑install fixtures and accessories.

Factors to Decide Which Way to Go
Not every bathroom fits neatly into one method. Consider these variables before you pick a path:
- Existing floor level: If the subfloor is uneven, floor‑first lets you correct it before walls go up.
- Tile size and layout: Large floor tiles benefit from a level base; small mosaic can tolerate slight variations.
- Plumbing layout: If you need to move a waste line, you may have to break the floor anyway, making floor‑first more logical.
- Moisture exposure: For walk‑in showers with high water volume, a continuous membrane (walls first) often feels safer.
- Timeline and crew availability: Walls‑first can be quicker if the floor is already level and you have a tiler ready.
Step‑by‑Step Guide for Both Approaches
Below is a concise checklist that works for either method. Follow the numbered steps that apply to your chosen order.
- Turn off water and electricity to the bathroom.
- Remove all fixtures, old tiles, and any damaged drywall.
- Inspect the subfloor and joists; repair any rot or squeaks.
- Choose your waterproofing system (liquid‑applied membrane, sheet liner, or paint‑on).
- If walls first: Install cement backer board, tape, then apply membrane up the walls.
- If floor first: Install underlayment, then lay membrane on the floor, overlapping 6 inches onto the walls.
- Apply tile adhesive - thin‑set mortar that bonds tiles to the substrate and set your wall or floor tiles as per your sequence.
- Allow adhesive to cure (usually 24 hours), then apply grout between tiles.
- Seal grout with a penetrating sealer to protect against moisture.
- Re‑install plumbing fixtures, lighting, and accessories.
Decision Checklist
- Is the existing floor level? Yes → consider walls first; No → floor first.
- Will you be moving the waste pipe? Yes → floor first may reduce re‑work.
- Are you using large format floor tiles? Yes → floor first for a perfect plane.
- Is the shower a high‑traffic, wet‑area? Yes → walls first for continuous membrane.
- Do you have a certified tiler available now? Yes → walls first can speed up the schedule.
Common Pitfalls and How to Avoid Them
- Trapped moisture: Never let water sit behind a wall membrane. Ensure the membrane overlaps the floor edge by at least 6 inches.
- Uneven grout lines: Use spacers and a consistent mixing ratio for thin‑set to keep joints uniform.
- Cracking under load: Apply a proper uncoupling membrane (uncoupling membrane - flexible sheet that separates tile from substrate movement) when the subfloor has slight movement.
- Poor adhesion: Clean the substrate thoroughly before applying adhesive; any dust or oil will weaken the bond.
- Incorrect tile height: Measure the finished floor height against the shower curb to avoid a visible step.
Comparison Table: Walls First vs. Floor First
| Aspect | Walls First | Floor First |
|---|---|---|
| Moisture Barrier | Continuous membrane up walls - excellent protection | Requires careful overlap; risk of gaps if not done right |
| Floor Leveling | Relies on existing subfloor; may need screed after walls | Level surface created first - ideal for large tiles |
| Working Space | Tiles on walls can obstruct floor work later | Floor done first leaves clear walls for backer board installation |
| Time Efficiency | Often faster for small jobs where floor is already level | May add a day for membrane overlap and curing |
| Typical Use Case | Standard showers, tight budgets, level floors | Renovations with uneven floors, large‑format tiles, re‑routed plumbing |
Frequently Asked Questions
Should I always use a waterproof membrane?
Yes. A quality waterproof membrane is the single most important line of defence against water damage. Whether you tile the walls or floor first, the membrane must overlap the opposite surface by at least 6 inches.
Can I mix both methods in the same bathroom?
In practice you’ll end up with a hybrid - most pros recommend finishing the floor first for levelness, then applying the membrane up the walls. The key is to maintain a continuous barrier.
How long should I wait before installing fixtures?
Allow thin‑set to cure 24 hours and grout to cure another 24 hours. Seal the grout and wait an additional 48 hours before re‑connecting water or electricity.
Is it worth hiring a professional tiler for the membrane step?
If you’re not comfortable with liquid‑applied membranes, a professional can ensure full coverage and proper overlap, which pays off in long‑term durability.
What’s the typical cost difference between the two methods?
Costs are similar; the main variance is labor time. Walls‑first may shave a day off the schedule, while floor‑first could add a day for extra leveling work. Expect a 5‑10% price swing depending on local rates.


Comments