Can I fix a foundation crack myself? A DIY Guide to Safe Repair
Foundation Crack DIY Assessment Tool
Assess Your Crack
Answer these questions based on your foundation crack to determine if DIY repair is safe
0.00"
1.00"
0.25"
Quick Takeaways
- Small, non‑structural cracks in a slab can be sealed with epoxy or polyurethane if the cause is addressed.
- Structural cracks usually need professional help - think engineers, piering, or carbon‑fiber reinforcement.
- Good drainage and soil control are as important as the repair material itself.
- Safety first: wear protective gear, work in well‑ventilated areas, and never compromise load‑bearing walls.
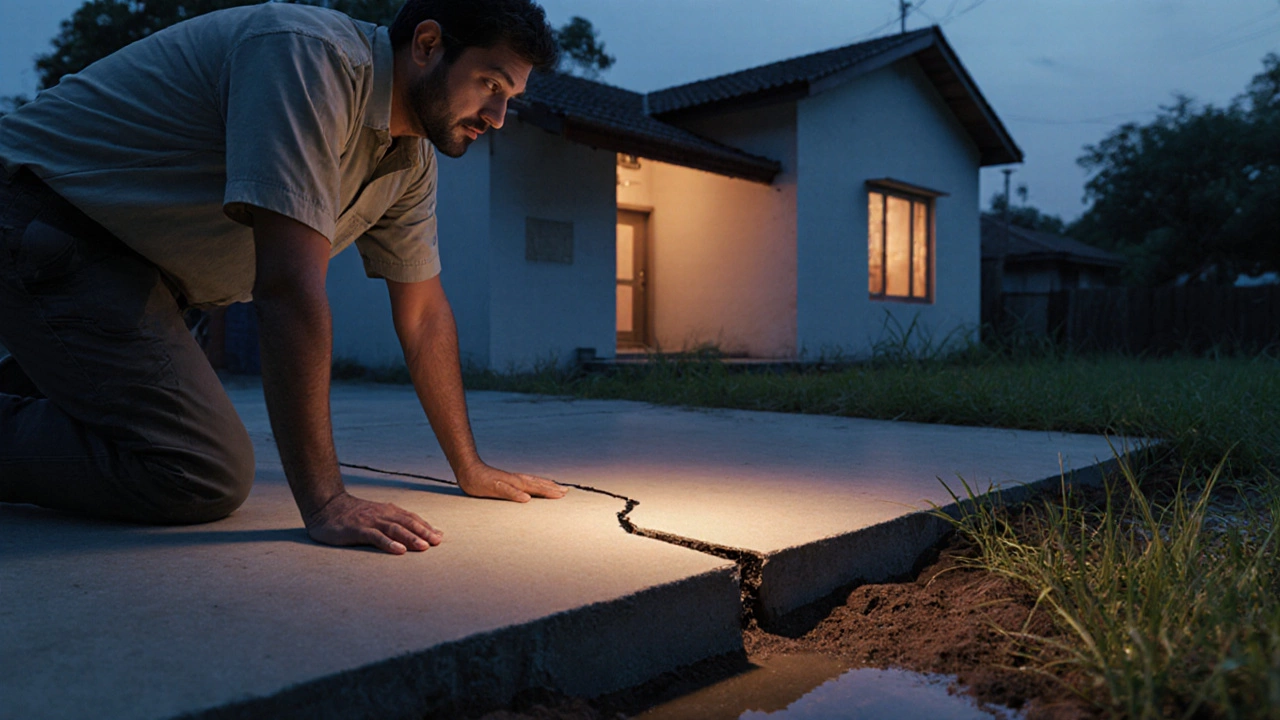
Spotting a crack in your home’s foundation can feel like a nightmare. The first question most homeowners ask is, "Can I fix a foundation crack myself?" The short answer is: it depends on the crack’s size, location, and cause. This guide walks you through the decision‑making process, the tools you’ll need, step‑by‑step repair methods, and the red flags that signal you should call a professional.
Foundation crack is a break or fissure in the concrete or masonry that makes up a building’s foundation, often caused by soil movement, moisture, or settlement. While many cracks are harmless, others can compromise a structure’s stability.
What Causes Foundation Cracks?
Understanding the root cause helps you choose the right repair approach. The most common drivers are:
- Soil settlement: Expanding or shrinking clay soils shift under the weight of the house, creating stress on the footing.
- Poor drainage: Water pooling around the foundation erodes soil and adds hydrostatic pressure.
- Thermal movement: Temperature changes cause concrete to expand and contract.
- Construction errors: Inadequate reinforcement or improperly cured concrete can lead to early cracking.
Once you identify the driver, you can address it before sealing the crack - otherwise you’ll just be covering a symptom.
When DIY Is Reasonable
Not every fracture calls for a structural engineer. You can safely tackle a repair yourself if:
- The crack is less than ¼inch wide and runs horizontally or vertically in a slab‑on‑grade foundation.
- No doors or windows are sticking, and there’s no uneven flooring.
- Moisture levels are under control - you’ve installed weeping‑tile drainage or exterior French drains.
If the crack exceeds ½inch, appears stair‑step in shape, or is located on a load‑bearing wall, it’s time to bring in a structural engineer is a licensed professional who evaluates a building’s load‑path and recommends remedial action for structural issues. They’ll determine whether piering, wall reinforcement, or foundation underpinning is required.
Essential Tools & Materials
Below is a checklist of items you’ll need for a typical DIY crack seal. Not all methods use every item, but having them on hand prepares you for any approach.
- Protective gear - safety glasses, gloves, dust mask.
- Hammer and cold‑chisel (to widen the crack slightly for better bonding).
- Concrete grinder or wire brush (to clean the surface).
- Moisture‑curing equipment - plastic sheeting or a humidifier.
- Injection kit - either epoxy injection is a two‑part resin that bonds concrete fibers and restores structural integrity or polyurethane injection is a flexible foam that expands to fill gaps and blocks water ingress.
- Carbon‑fiber reinforcement kit (optional for higher‑load areas).
- Caulking gun and high‑quality concrete sealant for surface finishing.
- Measuring tape, level, and marker.
Step‑by‑Step Repair Methods
Choose one of the three most common DIY techniques based on the crack’s purpose - structural strength versus water‑proofing.
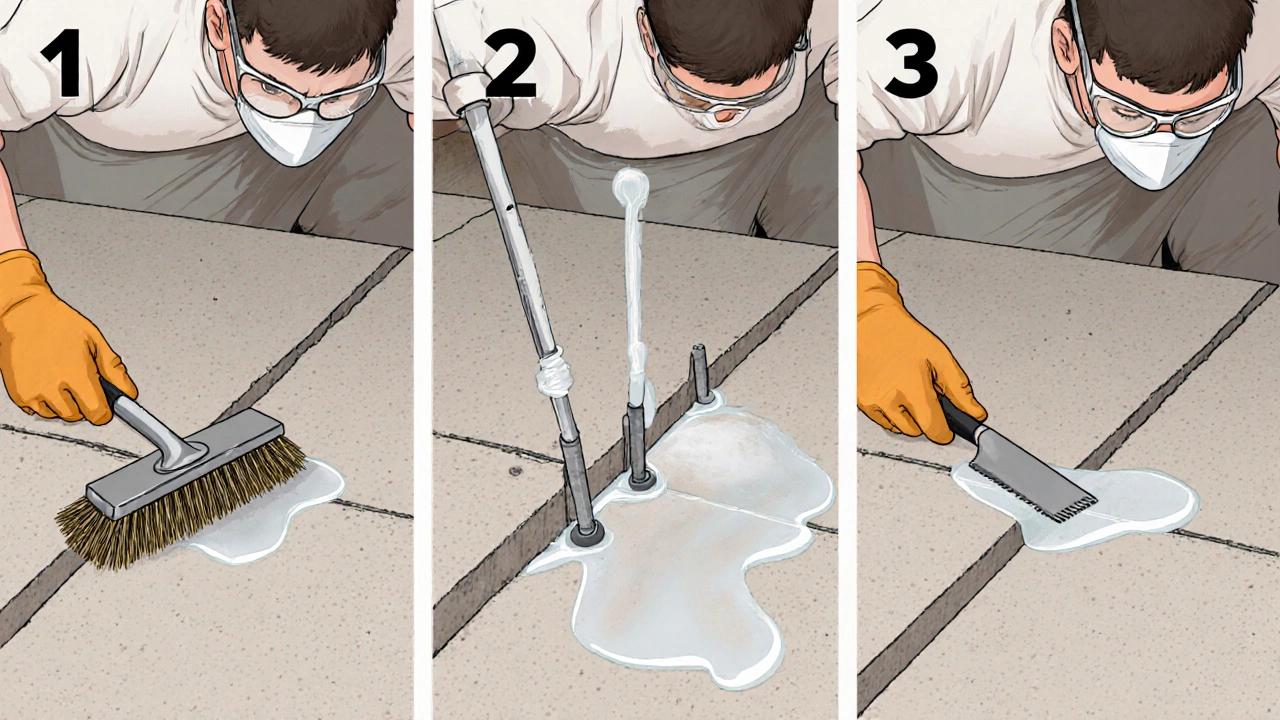
1. Epoxy Injection (Structural Repair)
Epoxy restores load‑bearing capacity, making it ideal for cracks in basement walls or support beams.
- Clear the crack of dust and loose particles using a vacuum or compressed air.
- Use a chisel to create a V‑shaped groove (about ¼inch deep) along the crack. This ensures the epoxy adheres properly.
- Mix the two‑part epoxy according to the manufacturer’s instructions - timing is critical; pour before the mixture begins to set.
- Attach the injection ports (small tubes) at the low point of the crack. Seal the surface with a temporary putty.
- Inject epoxy slowly, watching the pressure rise. Stop when the crack fills and the epoxy begins to seep out of the ports.
- Remove the ports, smooth the surface, and let the epoxy cure (typically 24hours).
- Apply a concrete‑compatible sealant over the repaired area to protect against moisture.
2. Polyurethane Injection (Waterproofing)
Use this for horizontal cracks where water intrusion is the main concern.
- Seal any open joints surrounding the crack with a temporary waterproof tape.
- Drill small holes (¾inch) at 6‑inch intervals along the crack, starting from the lowest point.
- Insert the injection ports and connect to the polyurethane pump.
- Start the pump; the foam expands, filling the void. Watch for bulging - stop once the foam reaches just below surface level.
- Let the foam cure (usually 30minutes) then trim excess with a utility knife.
- Finish with a water‑resistant sealant.
3. Carbon‑Fiber Reinforcement (High‑Load Areas)
This method adds tensile strength without massive excavation.
- Expose the crack by removing a thin layer of plaster or stucco.
- Clean the area thoroughly and apply an epoxy‑based primer.
- Lay the carbon‑fiber strip over the crack, ensuring it extends at least 4inches beyond each side.
- Press the strip into the epoxy, using a roller to eliminate bubbles.
- Allow the epoxy to cure, then cover with a thin layer of plaster or sealant.
Comparison of DIY Repair Methods
| Method | Typical Cost (UK) | Cure Time | Best For | Complexity |
|---|---|---|---|---|
| Epoxy injection | £120‑£250 | 24hrs | Structural strength | Medium |
| Polyurethane injection | £90‑£180 | 30‑60min | Waterproofing | Low |
| Carbon‑fiber reinforcement | £250‑£400 | 24‑48hrs | High‑load walls | High |
Preventing Future Cracks
Repairing a crack is only half the battle. If the underlying issue isn’t solved, new cracks will appear.
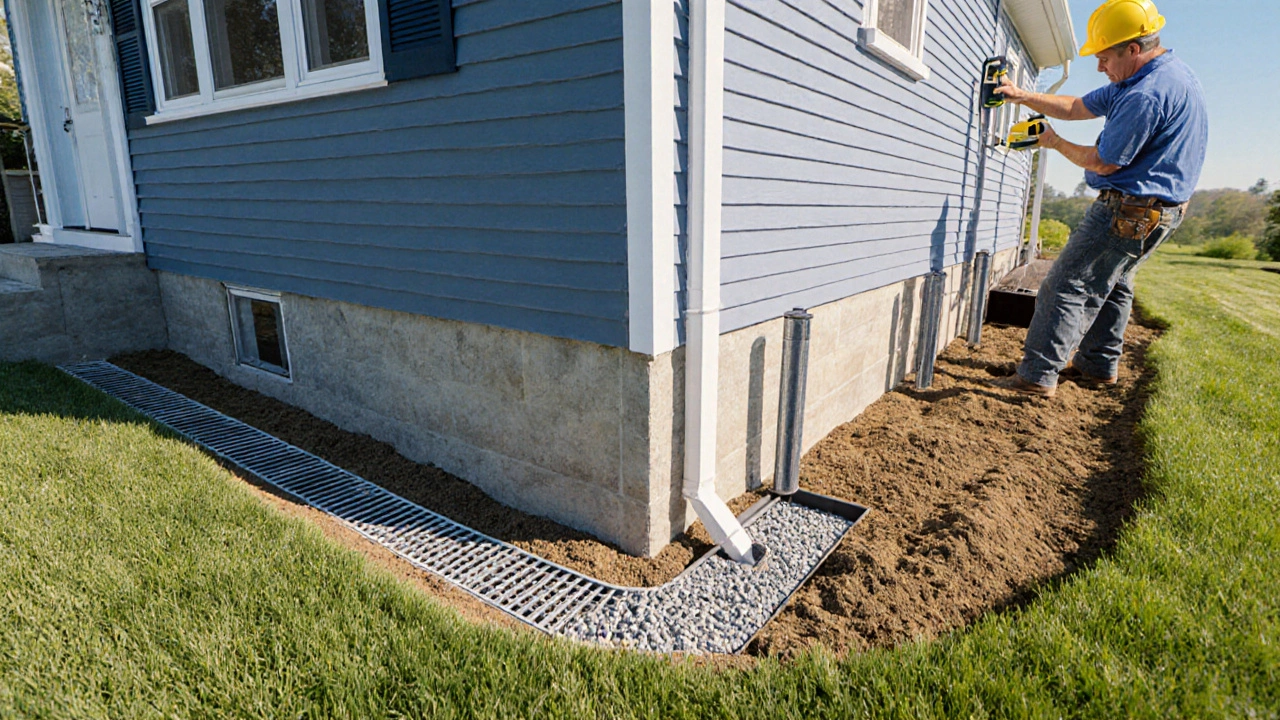
- Improve drainage: Install a perimeter French drain, ensure downspouts extend at least 1.5m away from the house, and grade the soil away from the foundation.
- Control moisture: Use a dehumidifier in basements during damp seasons, and consider a sump pump with a backup battery.
- Stabilise soil: For expansive clay, add lime or a moisture‑stable backfill material. In severe cases, hire a specialist to install piers or underpinning.
- Regular inspections: Check the foundation annually, especially after heavy rain or freeze‑thaw cycles.
When to Call a Professional
Even the most seasoned DIYer knows when to step back. If you notice any of these red flags, contact a foundation specialist.
- Cracks wider than ½inch, or stair‑step patterns.
- Doors and windows that jam or no longer close properly.
- Visible bowing or bulging walls.
- Persistent moisture despite drainage improvements.
Professional services often involve foundation piering is the process of installing steel or concrete piers to transfer load from unstable soil to deeper, stable strata or wall anchoring - solutions that require heavy equipment and engineering calculations.
Checklist Before You Start
- Identify the crack type and measure width.
- Confirm the cause (soil movement, drainage, etc.).
- Gather all required tools and safety gear.
- Choose the appropriate repair method (epoxy, polyurethane, carbon‑fiber).
- Prepare the area - clean, widen, and seal surrounding joints.
- Follow the step‑by‑step instructions carefully.
- Monitor the repair for at least 30days for new movement.
Common Pitfalls to Avoid
- Skipping moisture control - a wet substrate prevents epoxy from bonding.
- Using the wrong injection material - epoxy won’t flex, polyurethane won’t add strength.
- Over‑filling the crack - excess material can cause bulging and new stress points.
- Neglecting safety - epoxy fumes can be hazardous; always ventilate.
Frequently Asked Questions
Can I patch a foundation crack with regular silicone caulk?
No. Silicone caulk isn’t designed for structural loads or long‑term moisture pressure. It may stop a leak temporarily, but the crack will likely re‑open. Use epoxy for strength or polyurethane for water‑proofing.
How long does it take for epoxy to cure fully?
Most epoxy systems reach handling strength within 30minutes, but full cure (maximum strength) usually requires 24hours at ambient temperature.
Is polyurethane injection safe for pets?
The foam expands quickly and can trap pets if they’re in the area. Keep animals out of the work zone until the material has cured and excess is trimmed.
Do I need a permit for DIY foundation repair in Manchester?
Minor crack sealing usually doesn’t require a permit, but if you’re adding structural reinforcement (e.g., carbon‑fiber or piers) you must consult the local council and possibly obtain approval.
What temperature range is ideal for epoxy application?
Aim for 10‑25°C (50‑77°F). Cold weather slows curing, while excessive heat can cause premature hardening before the crack fills.
In the end, whether you can fix foundation crack yourself boils down to the crack’s size, cause, and the risk you’re willing to take. Small, non‑structural fissures are perfect DIY projects with the right material and preparation. Larger, load‑bearing cracks demand a professional’s expertise. By following this guide, you’ll know exactly where you stand and how to move forward safely.


Comments